
Here’s a perfect Thanksgiving recipe: Pumpkin Cake Roll.
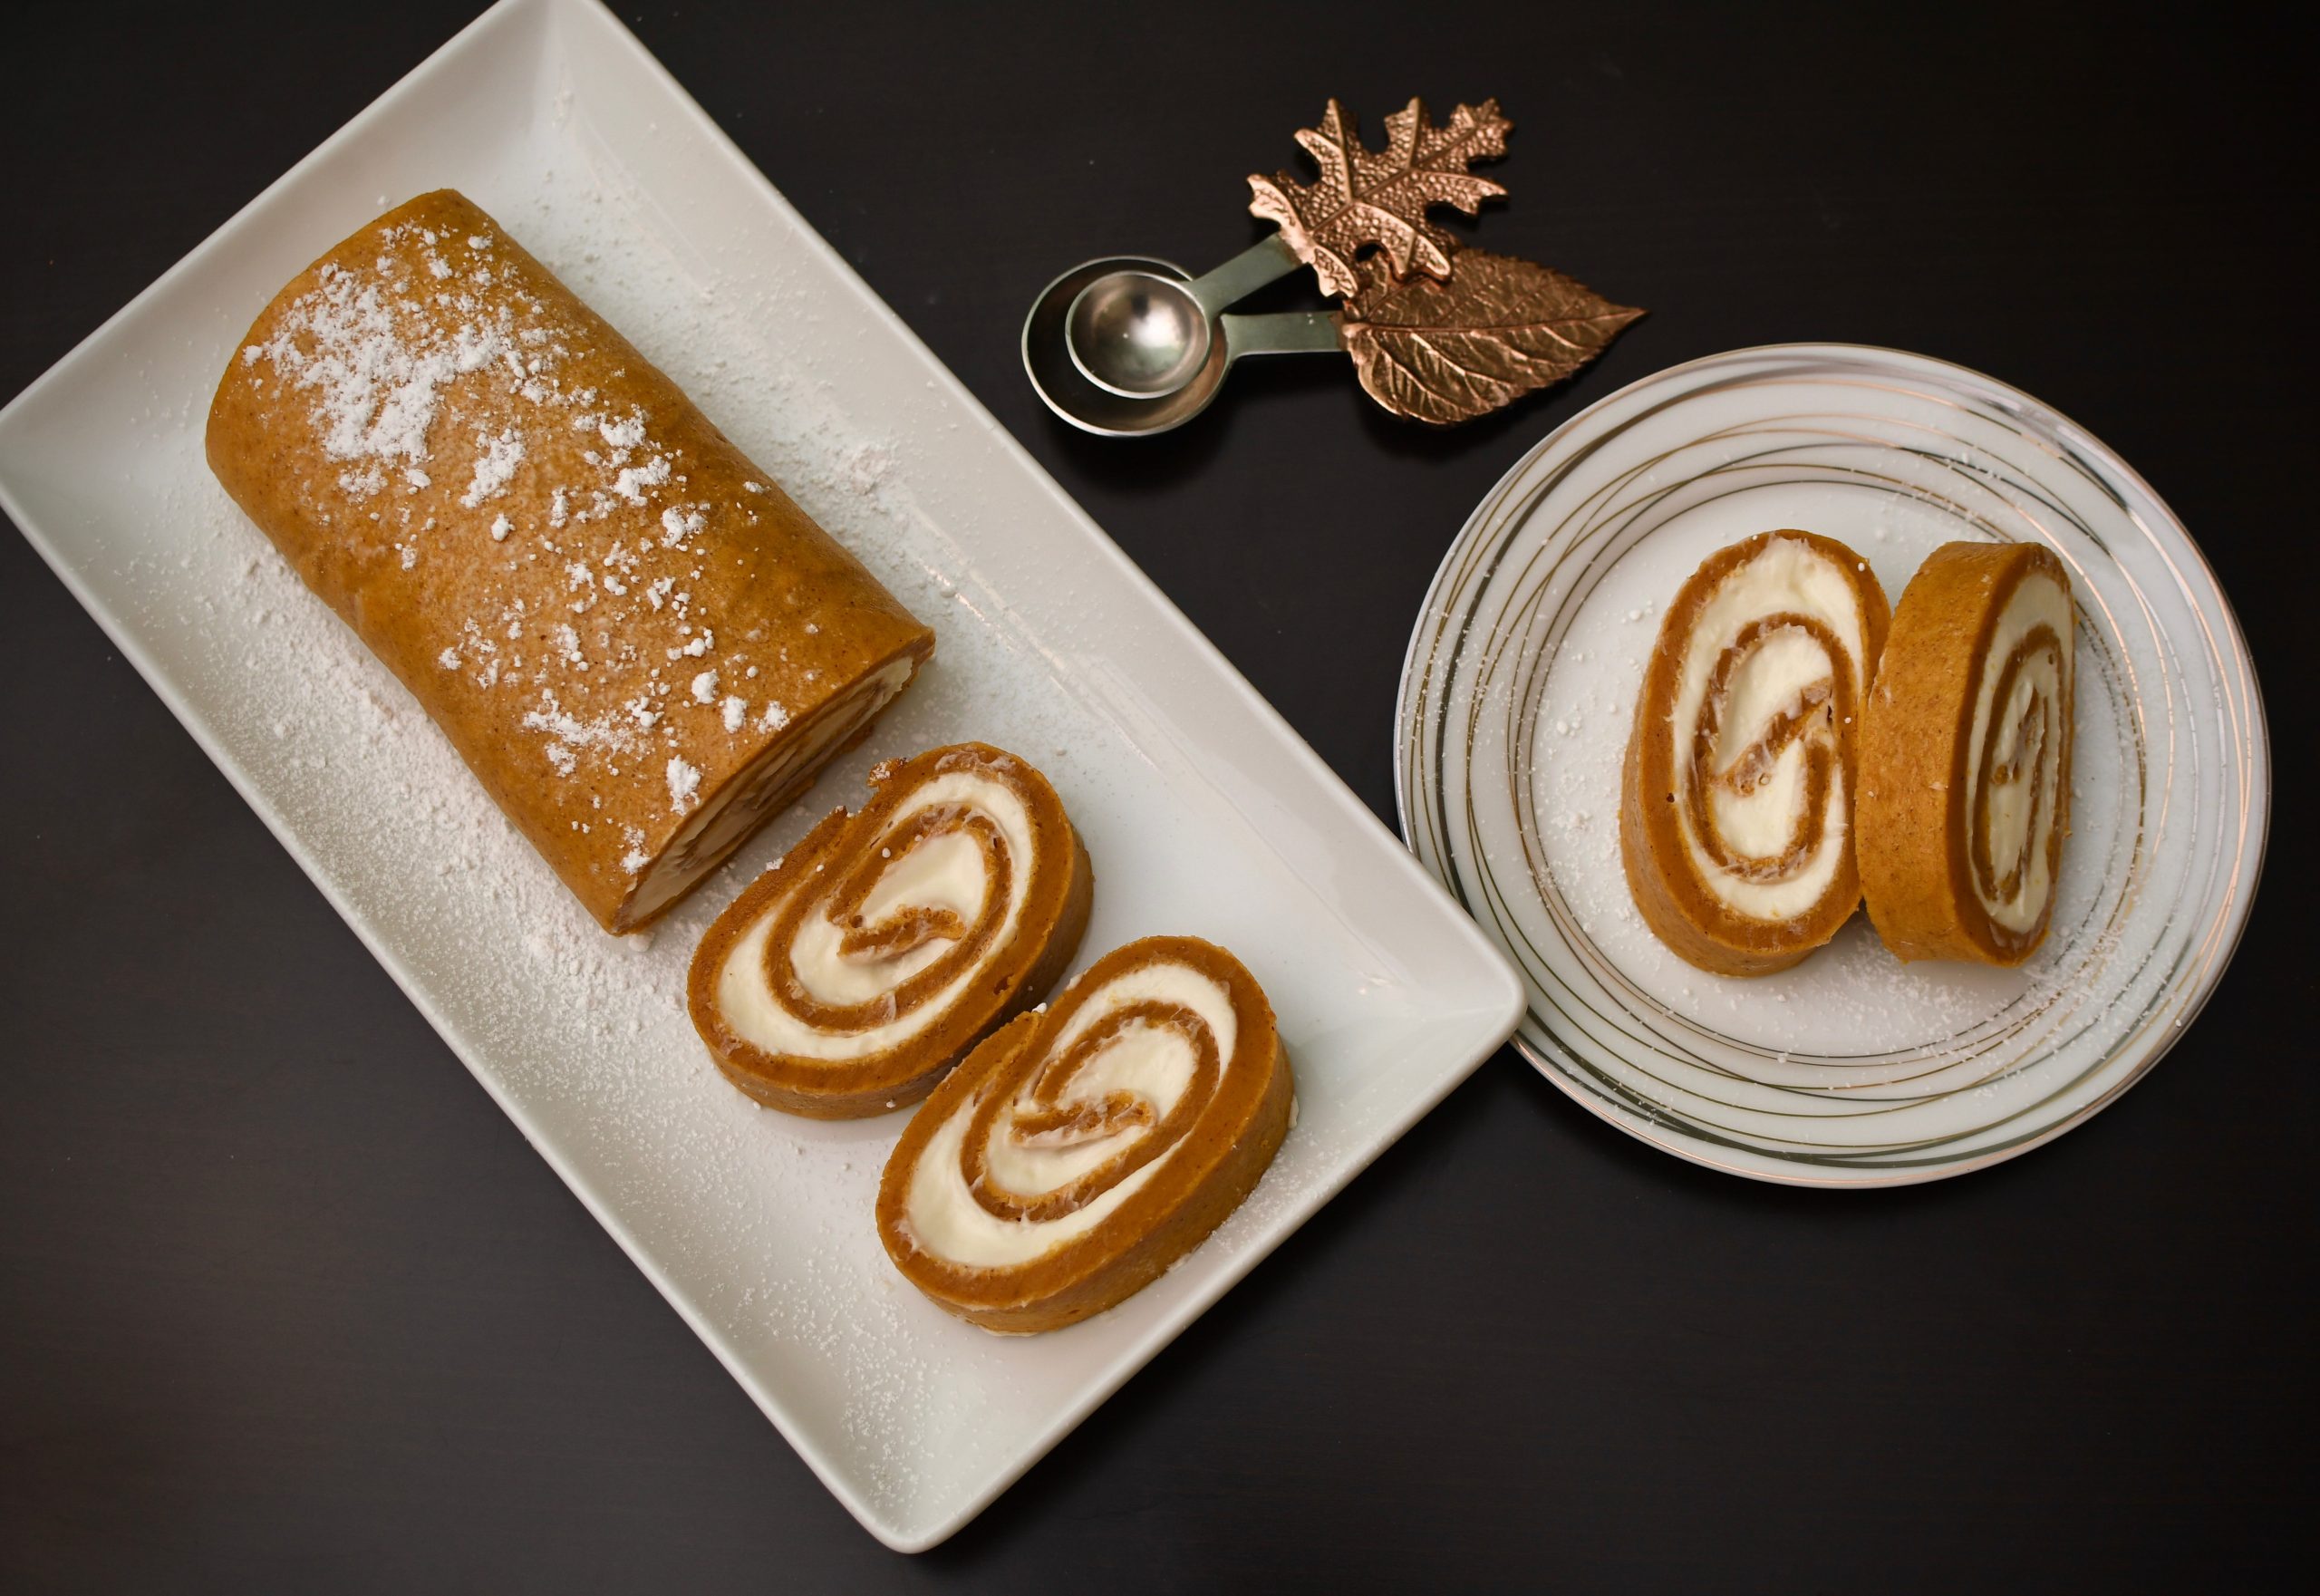
Here’s a perfect Thanksgiving recipe: Pumpkin Cake Roll.
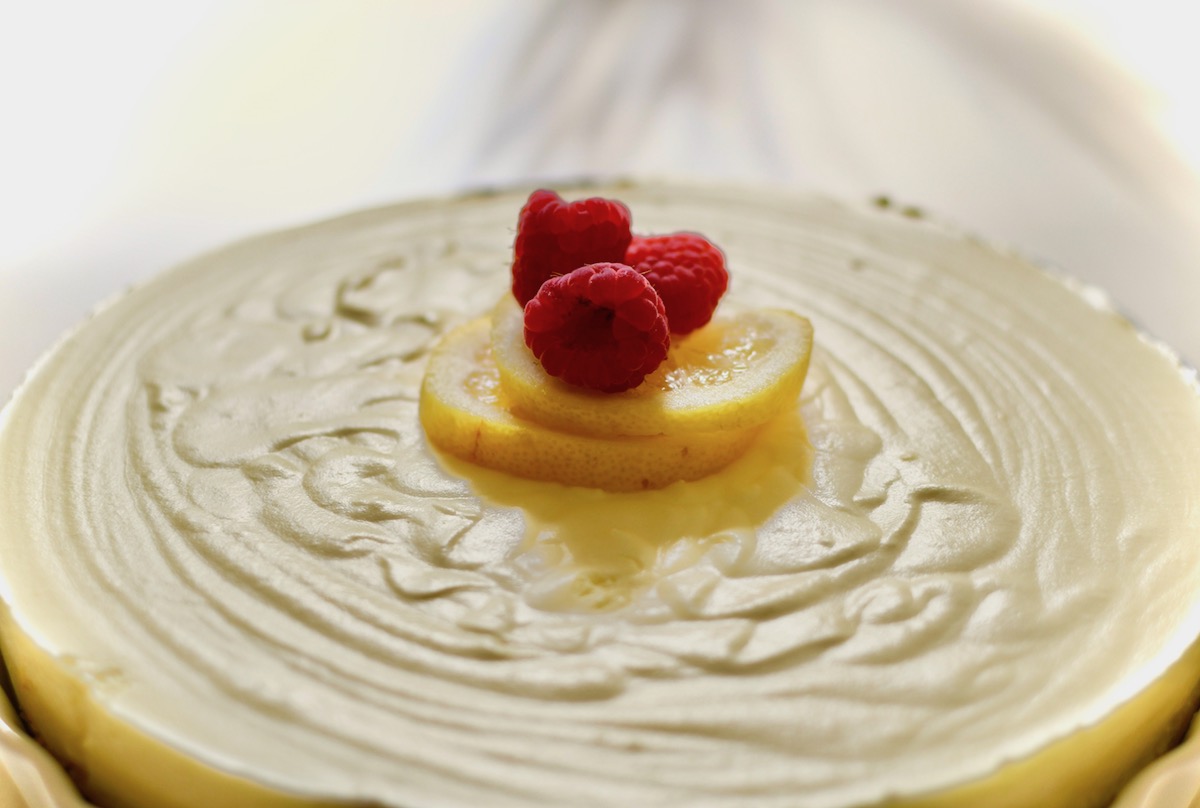
Here’s an easy summertime favorite: no-bake lemon cheesecake. This dessert recipe is a perfect finale to the BBQ dinner.
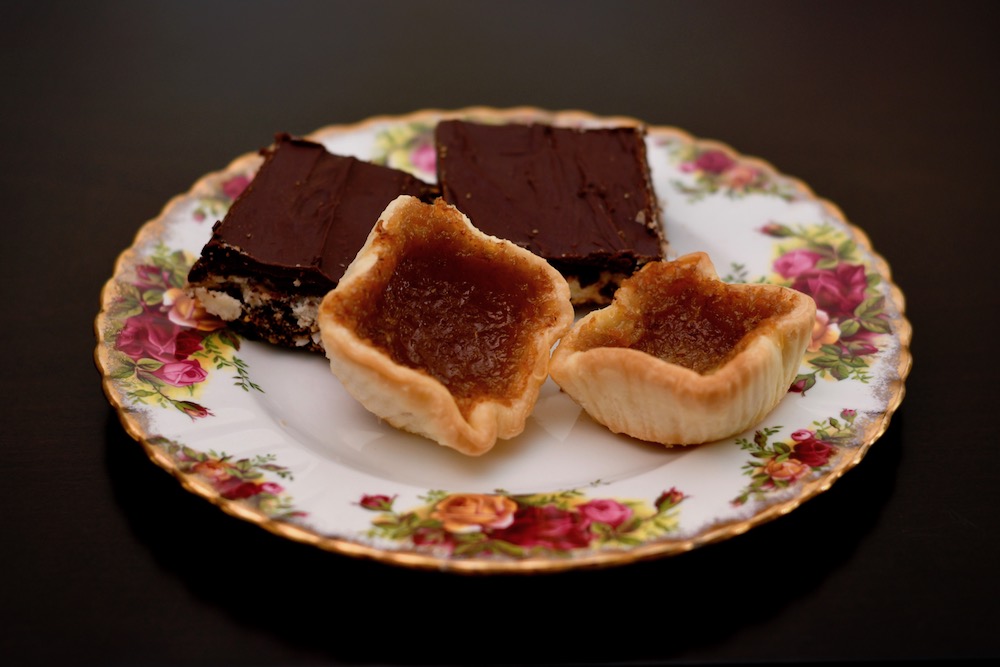
Recipes for two of my favorite Canadian desserts: Nanaimo Bars and Butter Tarts. Read the reason why I blog and how it’s help me overcome loss.
Here we go! Week 7 of the stay-at-home order and I’m thinking about death. How can we not think about it when we read the numbers each day in the news? Keeping…
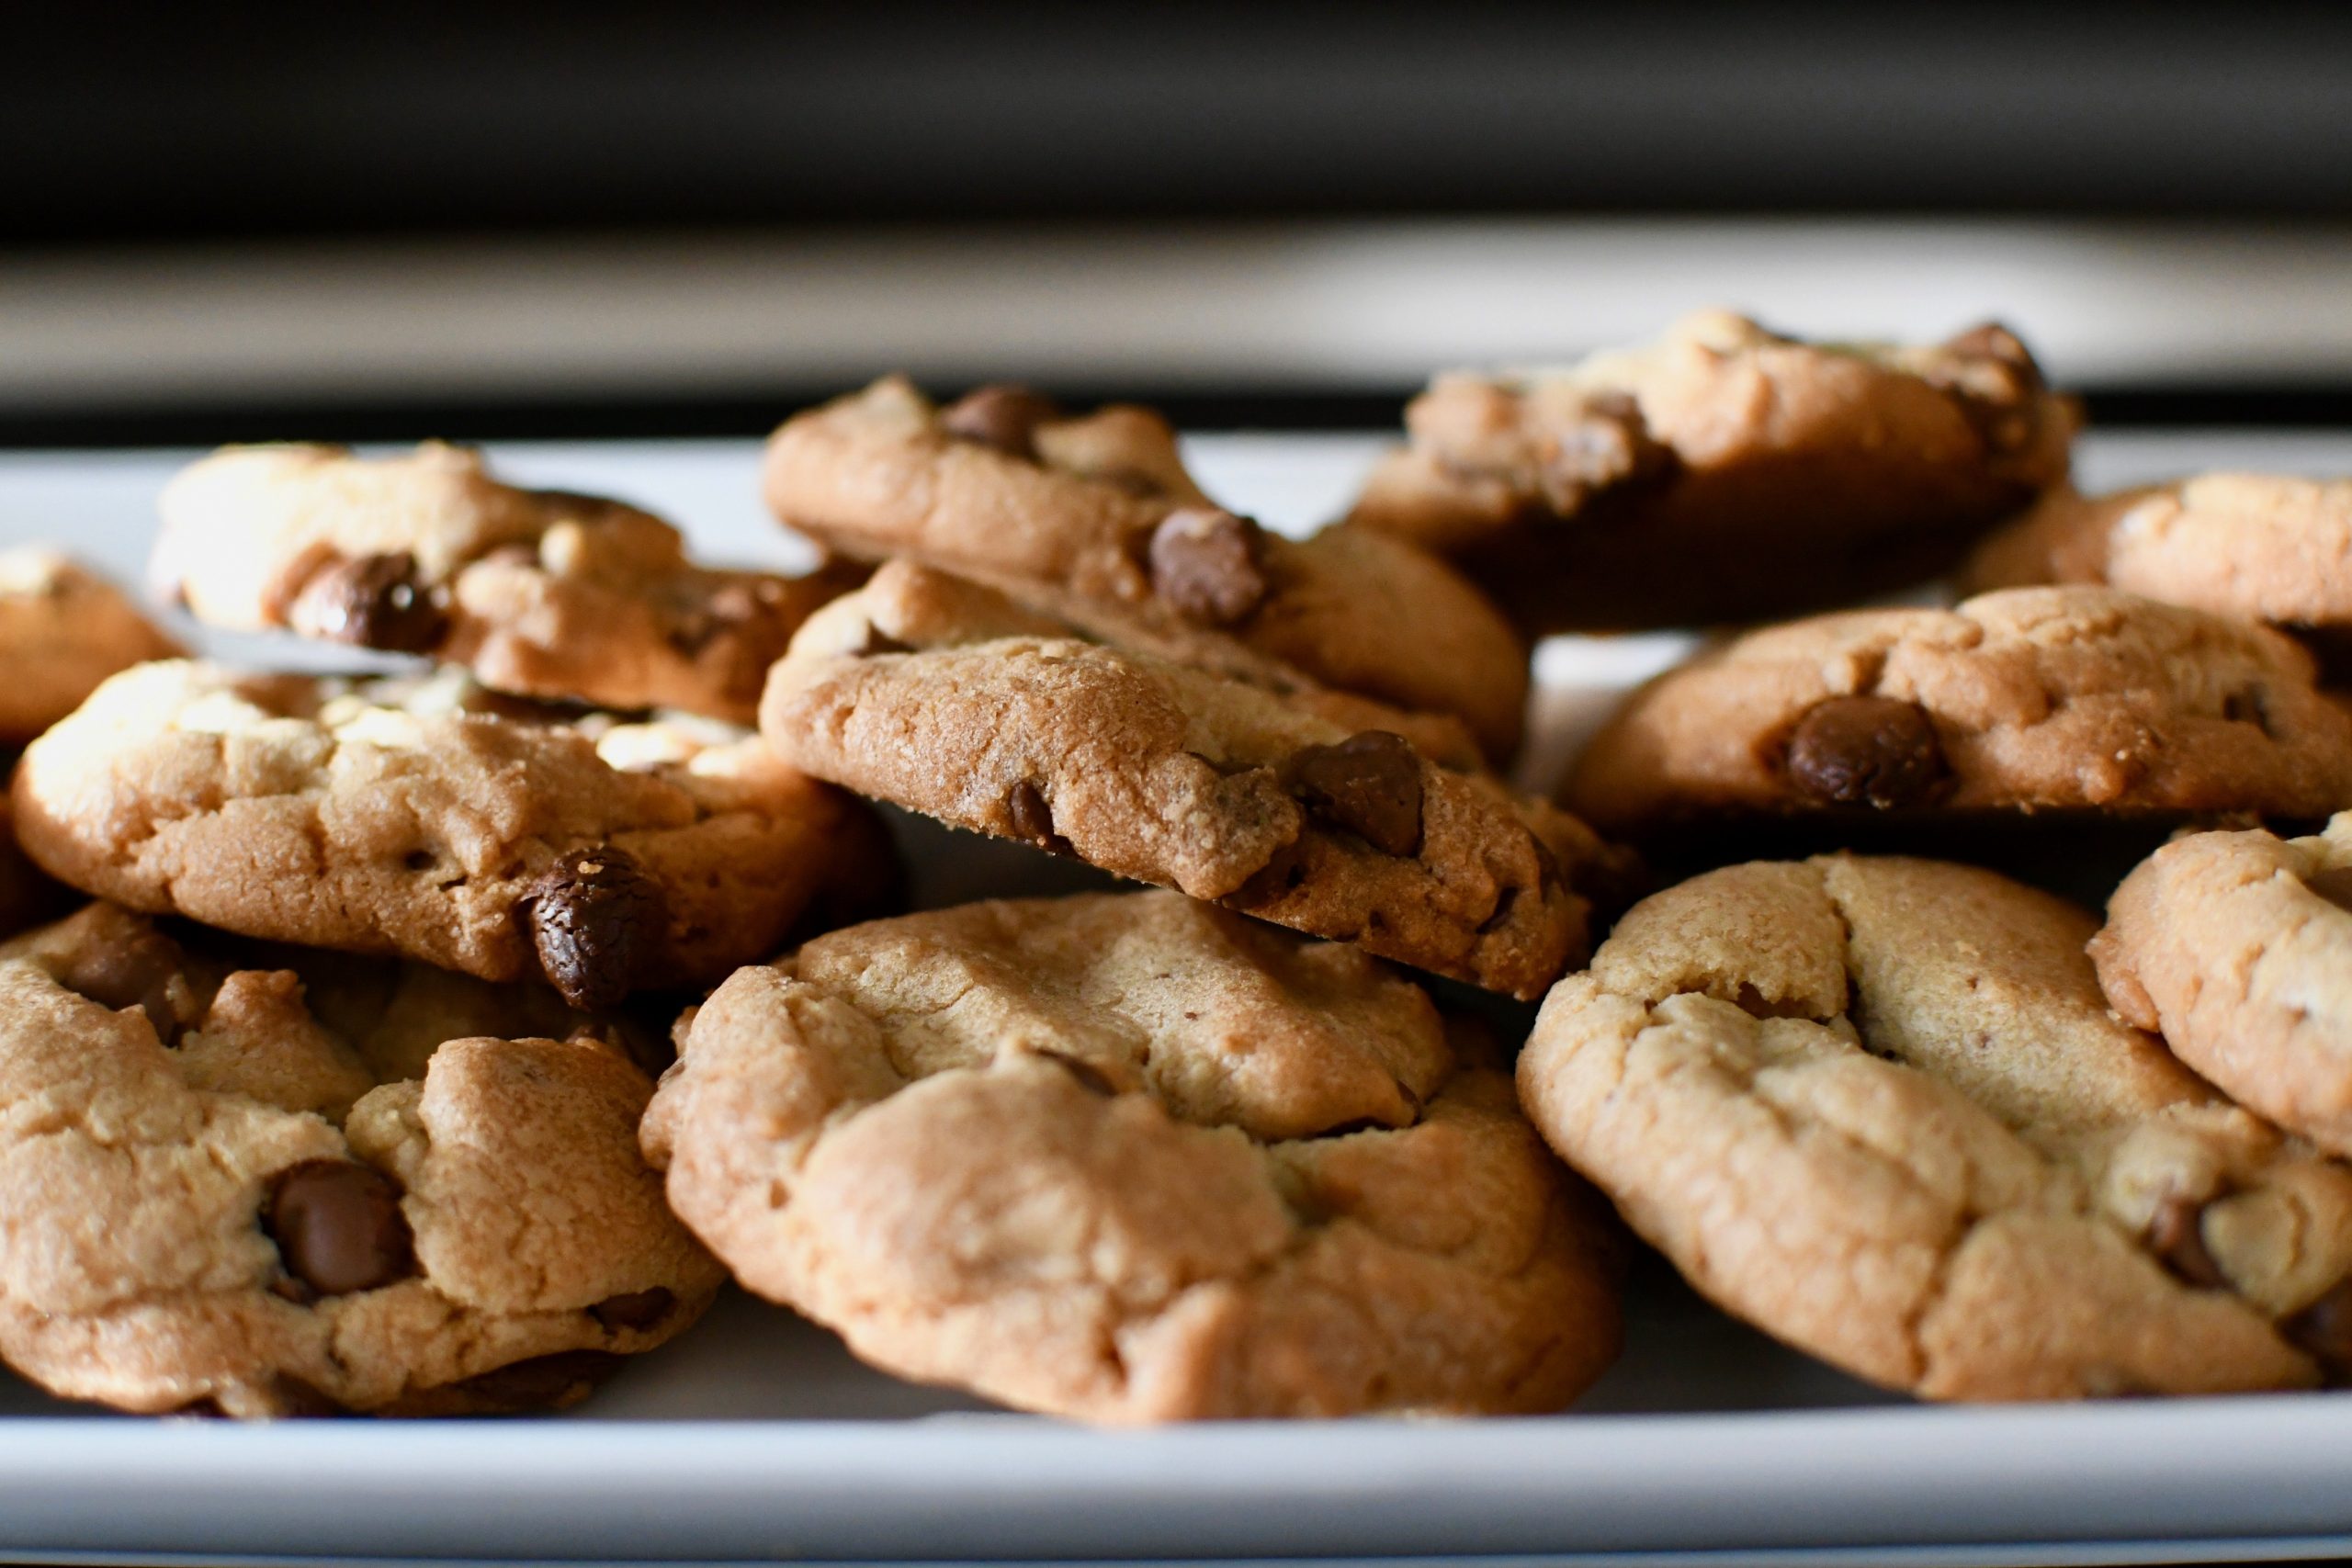
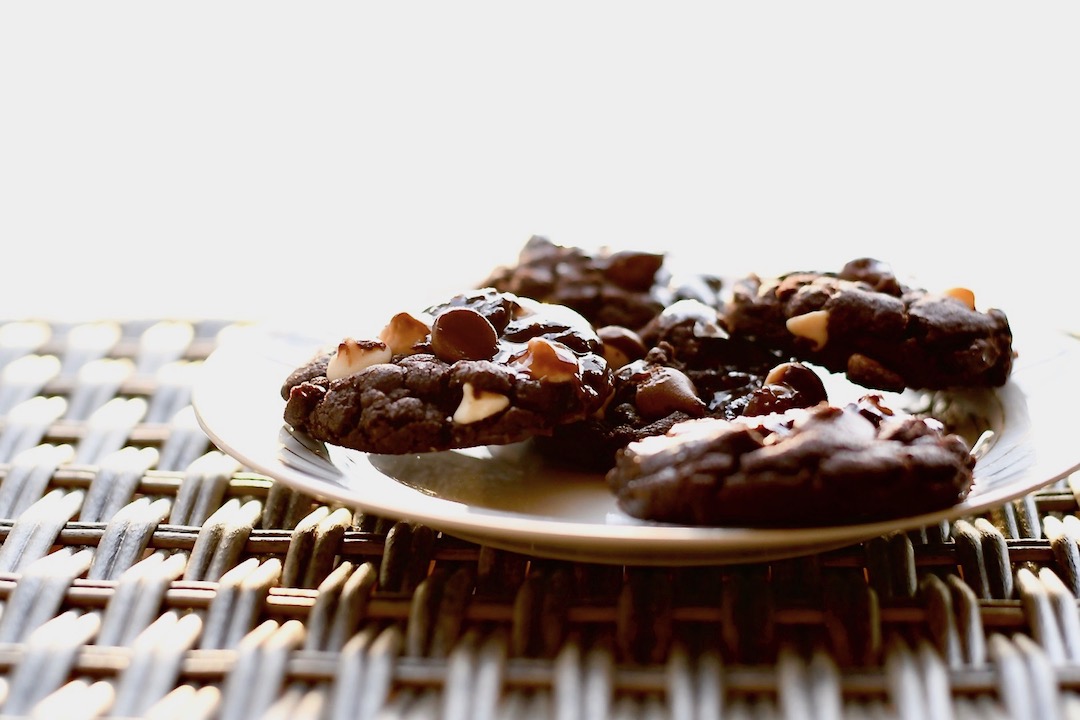
Fast and easy recipe for chocolate chip cookies and the history of this favorite sweet treat. Plus, while staying at home, life seems to be crumbling apart, I’ve added links to some crisis hotlines and mental health resources.

While under at stay-at-home order, here’s a fast, easy and nutritious breakfast for the whole family.